I just recently signed up for my first outdoor show in about 15 years. I started to apply but realized I needed to send in a photo of my tent with my works displayed.
Art Festival Setup for Beginners

I just recently signed up for my first outdoor show in about 15 years. I started to apply but realized I needed to send in a photo of my tent with my works displayed.

Here you will find the list of supplies that I used for this chair flip,.
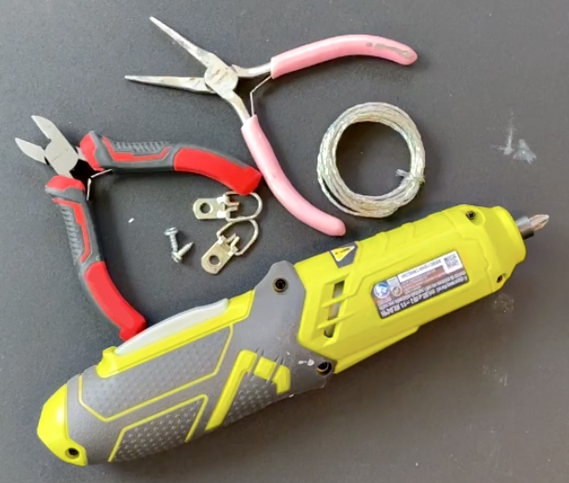
How to properly wire your paintings for hanging. Follow these easy steps and hang your art with confidence. Before You Start Make sure you have a large surface and that it is very clean. You will work with the canvas face down. Make sure the surface is free of dirt. A bed sheet is what …